weaving

Ikat Tie-on

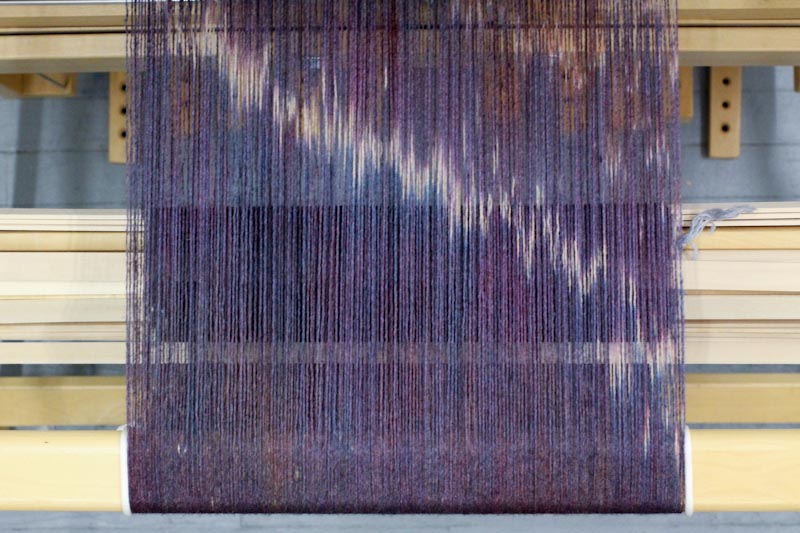
Remember that ikat warp I dyed? Well here it is in all its glory! ikat-5 ikat-4

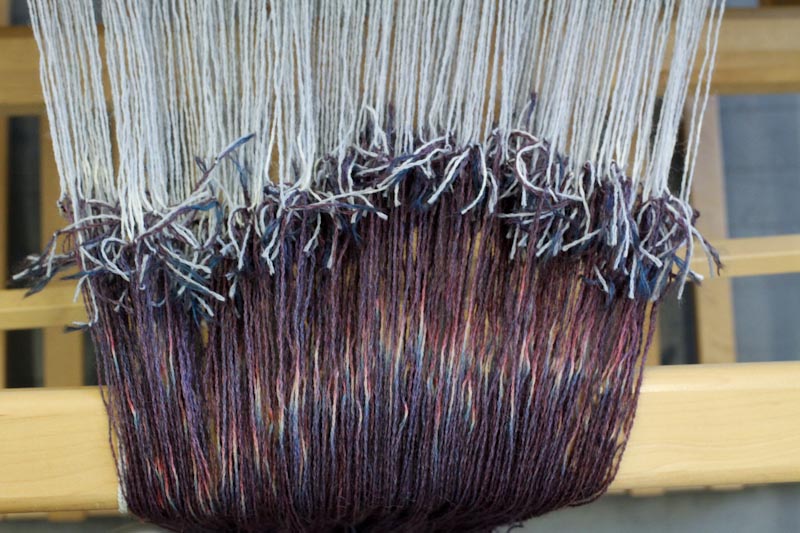
I attempted tying this warp to an existing warp already on the loom. I've done this only once before although had a terrible experience with it; I ended up taking off the old warp and just re-sleying my loom with the new warp. Mostly because I am not an great at knot tying. But of course, if at first you don't succeed...

ikat-1

ikat-2

ikat-3

I was pleasantly surprised it worked this time! I had a few knots come undone, but otherwise it went off without a hitch!

For the Love of Tools: Part 4

Now, I wouldn't normally post about a new toy tool, but it's quite a handy little sucker. It's a temple. 

A temple keeps a weaving piece the proper width while on the loom. When weaving without a temple, the side threads have a tendency to draw in, causing tension on the outer threads. Constant tension on those threads can result in broken warp threads. Not cool.

This is actually the first time I'm using one, and I'm not entirely sure if I'm using it properly! But it has definitely helped with keeping things in line and the right width. I'm excited to welcome it to my tool box.

Too Integral

Do you remember that DIY bobbin winder I made? The one that is extremely integral to the weaving process? Well, the wooden handle I use to clamp it down with wriggled itself loose and then right off the steel shaft. Apparently it was only glued on and I definitely didn't have the proper tools to fix it. It was rendered useless in early May and I wasn't able to weave for a solid 2 weeks. Which is one of many reasons why I haven't been posting anything about weaving.

So I brought it to my brother, the machinist, and he fixed it. It now has this really awesome "prosthetic arm" that clamps wonderfully to my table. Really, it works way better than before! Thanks dude!

And if you're wondering if my entire family uses their hands in some way, the answer is undoubtedly yes. If the economy ever collapses and we have to go to bartering, we'll be just fine, thank you very much.

I'm back!

I know. Radio silence. I'm not really sure what happened, to be totally honest. I'm going to blame it on my bobbin winder breaking. But it's back! And now I'm back! I'm able to weave again. So get ready for it. Whatever "it" is....

Woven Shibori: Off Loom

Well, I can't lie. This is one of the more time consuming weavings I've done. It's also the first time I'm really excited to get this done and over with because I want to see what happens after I dye it. I'm like a little kid that can't sit still. Even though it's been a bit tedious, the actual gathering and bunching part of the process is definitely my favorite. It's a good way to get out one's frustrations. 
Let me step you through the oh-so-not-difficult process of bunching:

The trick is to pull from one side to the half way point then knot that side:

Then pull from the other side taking care not to break the thread. Then knot those together as tightly as possible:

Keep going until you have a nicely knotted heap of thread:

All ready to dye!

Woven Shibori: On loom

Remember how I tried to do a test piece for my first woven shibori? Yeah, it didn't turn out awesome, which is why I didn't share what happened when I pulled out the threads, but at least I learned a lot.

So instead, I decided to just jump in like I normally do with some virgin bamboo fiber. I found a M/W twill pattern with the pull threads pre-defined. I took that and modified it a little, along with the spacing.

Stay tuned to see what happens!

Woven Shibori: Practice Round - Ding!

I don't normally do test runs of things I make. I just like to dive into something and hope for the best. More than likely, it comes out just fine. And if not, then that becomes the test piece. It's a win-win.

My newest obsession is shibori, which for those of you who might not know is the Japanese art of resist fabric dying. In the states, tie-dyeing t-shirts is the closest thing we know, taken from one type of shibori (kanoko). Other methods of shibori include: pole wrapped (arashi), pleated (suji), clamped (itajime), and stitched (nui). I could go on and on about this stuff, but today I'll only bore you with the stitched method.

In basic terms, stitched shibori is where you take a needle and thread to some fabric, make a loose running stitch then pull the thread tightly resulting in scrunched, bunched fabric. The folds created, if done properly, will be tight enough to resist the dye bath resulting in a pattern.  

Recently I discovered a book at the library called Woven Shibori which takes this theory and it applies it to the loom. But instead of hand stitching in the thread, I weave it into the cloth. How genius is that?! I'm so fascinated by this that it's taken over my weaving project thoughts. And since I've never done this (not even hand stitched fabric shibori), I have no idea what it's going to do to the fabric. Which is why I decided to do some actual test pieces.

I used some variegated cotton thread that I've had sitting on the shelf for years. I have no clue as to why I bought it. I really hate variegated yarn because it never gives you the result you think you'll get. I figured it would be good practice yarn. I think I was right since the resulting fabric is so ugly.

I decided to go even further with the test piece and even added some wool threads. The plan is to dip the end into boiling water; the hot water should shrink the wool but not the cotton and it should naturally pucker. We'll see how that goes.

So this is what the test piece looked like B.D. (before dyeing):

This is what it looked like A.D. (After Dyeing):

Why was I so shocked that it didn't take up much dye? Because of all the pre-dyed fibers I've dealt with, usually can be over-dyed. But then I realized that all the fiber I've over-dyed has been protein based. Darn you animal fibers! You take dye so well! You strike again! 

Time to take out the stitches and see what I get!