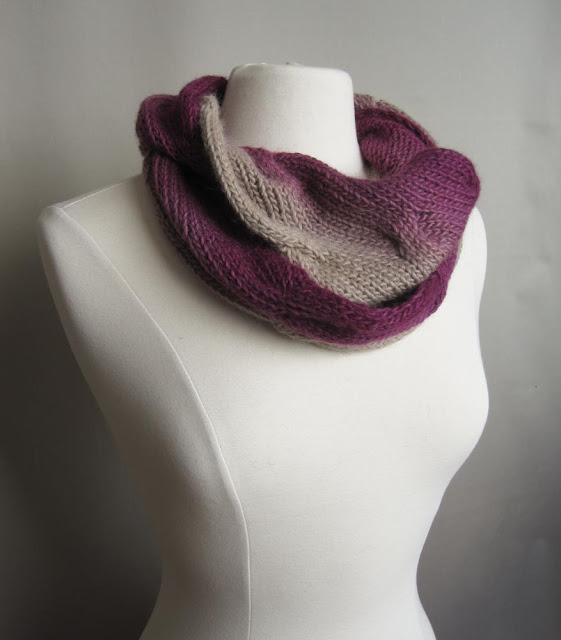
scarf

Ikat Tie-on

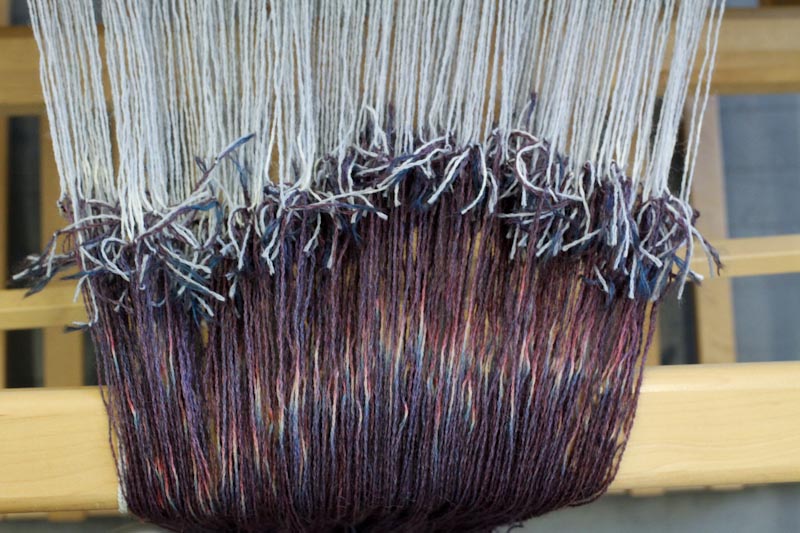
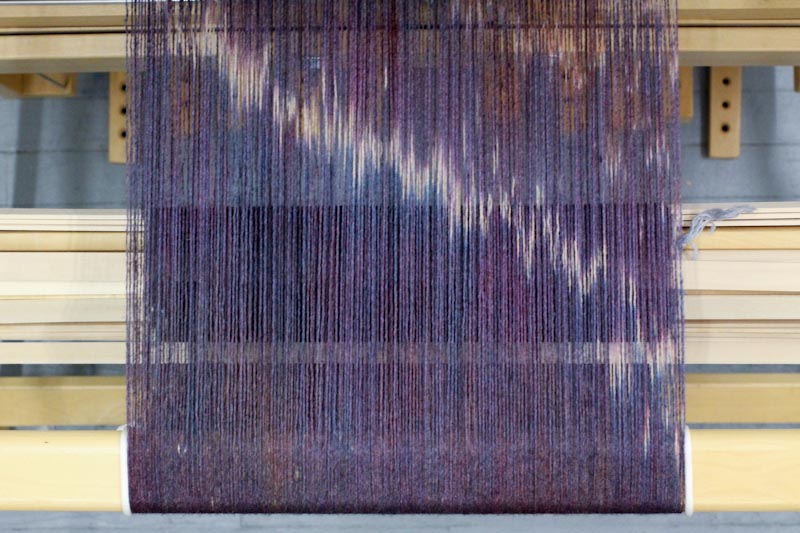
Remember that ikat warp I dyed? Well here it is in all its glory! ikat-5 ikat-4

I attempted tying this warp to an existing warp already on the loom. I've done this only once before although had a terrible experience with it; I ended up taking off the old warp and just re-sleying my loom with the new warp. Mostly because I am not an great at knot tying. But of course, if at first you don't succeed...

ikat-1

ikat-2

ikat-3

I was pleasantly surprised it worked this time! I had a few knots come undone, but otherwise it went off without a hitch!

Undulating Twill...

Undulating twill is a great weave structure that gives a little visual interest to something that otherwise might look flat. Usually I use it with solid colored yarn because the weave structure is so interesting that it will take precedence over the color. This time around, I wove up a grey version of my favorite undulating twill pattern for a scarf. But the grey was felling a little dull, so I decided to spice it up a bit. 

A huge part of the fascination of dyeing is noticing what colors are leached into the fiber and in what order. (More on that soon! I have some really awesome ideas in the works based on this concept.) 
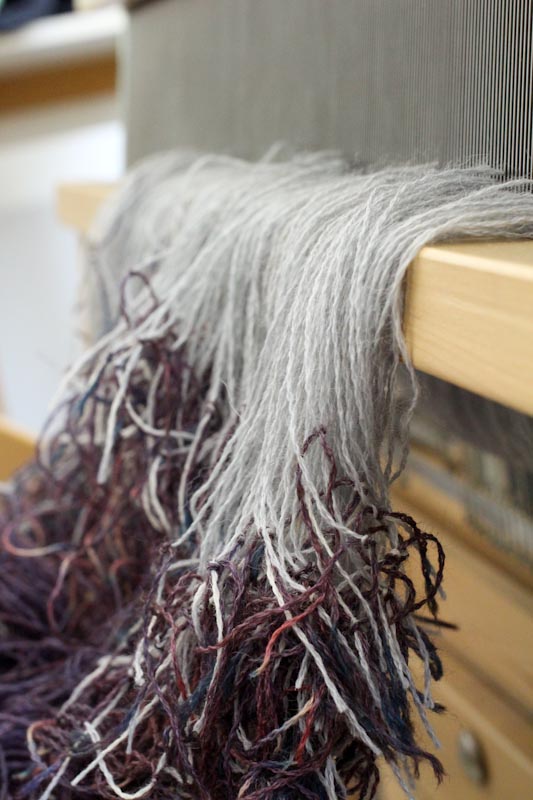
The fact that the blue leaches into the fiber last gives this one an interesting dynamic: you can see the blue at the edge and the red is deepest on the outmost layer of fuzz, best seen here:

Where's yours?

A lot of people, now that they know I've opened this little business, ask me when they see me, "Why aren't you wearing anything you've made?"

Sigh.

I've been quite busy making Christmas presents, and frankly have sold most of my stuff (this was not an attempt at gloating) but I figured I should probably put something together to show off in person. Okay. I'll squeeze that in, along with the rest of my tasks....

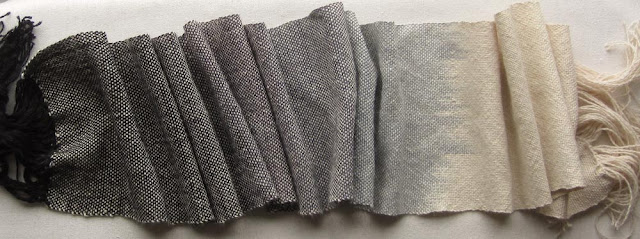
So here it is. A new scarf. Based on this one, but scaled in both directions and I changed the pattern a little. Solely for me. Consider it an early present to myself.

100% alpaca with ombré over-dye

In progress...

I ombréd an alpaca warp that came out pretty sweet, except I failed to take a picture of it before I tied it on to my loom. Forgive me, friend. Take in exchange, some pictures of that warp, but at different phases of the weaving process:

The Over Dyeing Primer

Oh, I have learned so much the past couple months. This post is no exception. Remember the "easter egg scarf"? I know - you're tired of me talking about it. Well, I decided to over dye it.

(Warning: may be boring for those who do not want to learn about the fine points of protein fiber dyeing.)

Thankfully, I had some left over yarn that I had used to weave the scarf. 

I made little bundles of fiber out of the leftover bobbins to see what would happen to the already colored fiber.

So I mixed a few dye pots with different colors to test what would happen to each color. Always do test swatches so that you know what will happen to the scarf. No need to put the setting agent into dye pot since there's no need for it to set. Just a little dye and hot water to dissolve it will be enough to get a test dye pot to dip into.

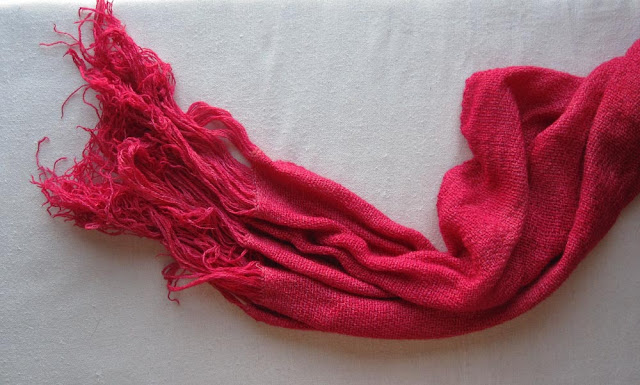
 The goal was to get it to look like this (the third from the left, above).

Except I made one glaring mistake.

I really wanted to get a "cool" shot for the blog.  Except it took me a good minute to find my camera, take off my gloves, and take the picture:
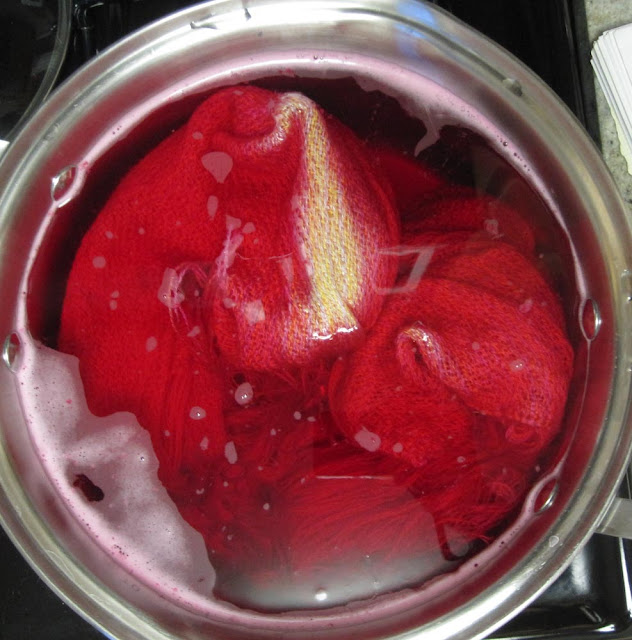
Can you guess what happened? Yep, I had this huge area that didn't get dyed. And I wasn't able to stir the pot either, so the entire scarf was just strangely streaked - and not in a good way.

And if you have such a little amount of dye in the pot, it takes very little time for the fiber to soak it up. It took maybe 4 minutes for the dye to disappear.
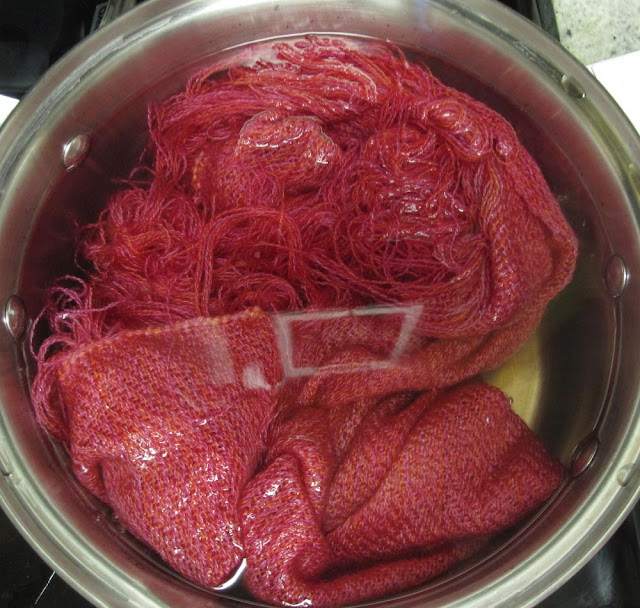
So I had to add about 3 times the amount of dye that I really wanted to add in order to get something that looked okay. And practically burned my hand off in the process.
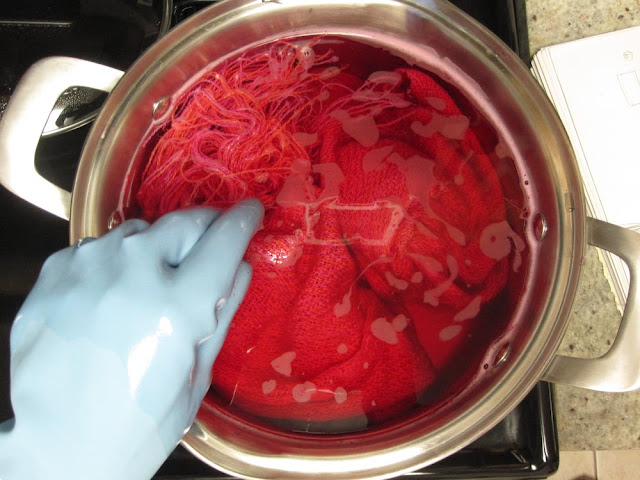
Either way, it still came out beautiful. Just not quite the colors I thought. Oh well. Next time!
What I learned and want to pass on to other newbie dyers:

1.) Always do a dye swatch test to see what will happen when you over dye. I was very unsure what the yellow would do when I added it to the fuchsia and brick red dye pots. After I did swatches, I knew!

2.) Have a large enough dye pot. There is something to be said to have the fiber "swimming" around freely. Do not skimp in this. Find old pots at Goodwill stores or if you have a friend who cans their own food you might be able to score an old large pot! The pots I currently have are not big enough for dyeing fabric. It's fine for my warps (think warp = 1/2 the amount of fiber than the fabric it makes). The last time I went to Reny's (best savings store ever - a Maine institution), I wanted to find a $20 lobster pot but since it was the end of summer, all the pots had already been snatched up for their intended use. Next time, Reny's!!!

3.) When dyeing any sort of protein fiber - that is an acid dye using heat - the minute it hits the dye bath is what the object will look like, so be especially careful with small amounts of dye. If you don't submerge evenly and start stirring right off the bat, you might get splotchy coverage.

4.) Even though rubber gloves feel like they are insulating you from a boiling pot of water - um, I don't need to finish that one, do I?

5.) Be prepared with the camera, if you're documenting. Or have someone else do it for you. Don't let your ego get in the way. The craft should come first!
How do you get to Carnegie Hall?

I've been perusing the free knitting patterns on ravelry.com lately to find different and unique patterns mostly to use for practice, practice, practice. When I first started to knit cables, I stumbled upon the pattern for this lovely cowl. (I got the free pattern here.) It's simple enough, and a good way to practice larger cables which I don't have enough experience. With enough practice, I will surely get rid of those uneven gaping holes near the cable and loosen up my stitching. (Why does it get so tight on the cable row??)

 And of course I had to ombré the crap out of it. It's ridiculous, I know, but I couldn't help it and it looks so good!!!

p.s. If you're a knitter and can give some tips on how to reduce the size of the hole near the cable or make them even, drop me a comment or email! Thanks!

Finishing Repertoire, Part 2....

Do you remember the oddly colored "easter egg scarf" I completed over the summer? I decided it was time to overdye it, except when I dug it out of my "completed" box I realized it wasn't quite completed and I hadn't finished the edges. This seems to be the story of my life.

If something needs to be dyed post weaving, make sure the edges are finished how you need, no matter what. This might seem rather obvious, but I've heard many a horror stories about tangled edges that got the axe for this oversight.

Anyway, I again turned to this awesome finishing book I referenced before and tried the woven Philippine edge.

I am seriously in love with this edging. How gorgeous. So sleek and simple. Not to mention it doesn't take a long time to complete.