Rusty nuts
While at home for Thanksgiving, I decided to raid my dad's workbench for some rusty fasteners. Needless to say there was no shortage of such things. He looked at me suspiciously, trying to figure out why I would want to take such things off his hand, although happy to unload these random objects he had kept.
The goal? To dye fiber with rust. I used felt as my first trial, because I had leftovers from the dye fest I had, and the next trial will definitely be cotton.
So I formed a solution of vinegar and water, doused the felt with it and placed it on a plastic tray.
Then added steel wool and some nuts and added more of the solution and covered it in plastic wrap to keep in the smell. Oxygen is very important for the reaction, so it should not be perfectly sealed.
The next day, I took off the plastic wrap and rinsed everything off in a bucket of water and salt to neutralize the solution.
In progress...
The Over Dyeing Primer
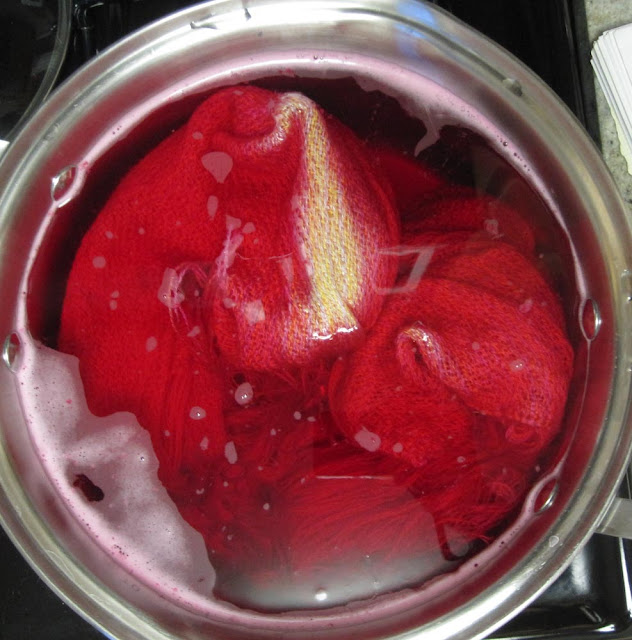
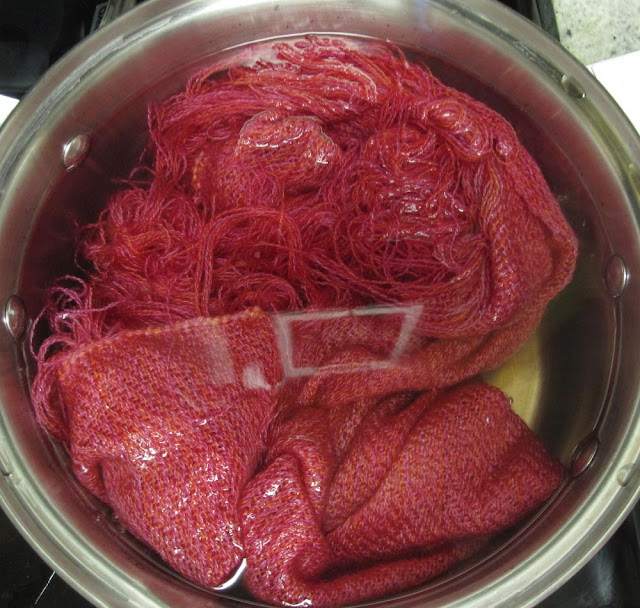
Oh, I have learned so much the past couple months. This post is no exception. Remember the "easter egg scarf"? I know - you're tired of me talking about it. Well, I decided to over dye it.
(Warning: may be boring for those who do not want to learn about the fine points of protein fiber dyeing.)
I made little bundles of fiber out of the leftover bobbins to see what would happen to the already colored fiber.
So I mixed a few dye pots with different colors to test what would happen to each color. Always do test swatches so that you know what will happen to the scarf. No need to put the setting agent into dye pot since there's no need for it to set. Just a little dye and hot water to dissolve it will be enough to get a test dye pot to dip into.
Except I made one glaring mistake.
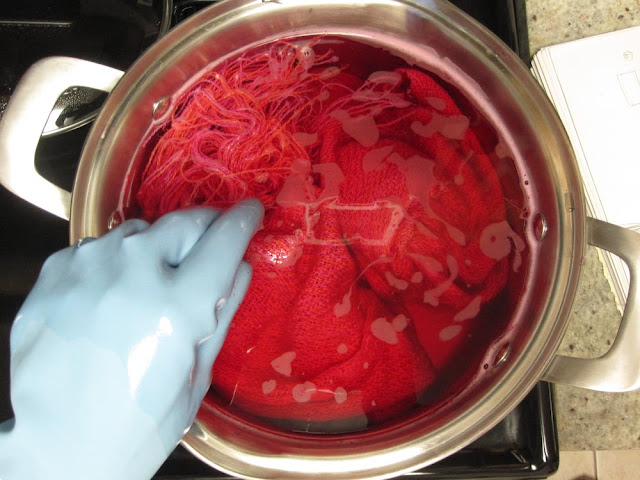
I really wanted to get a "cool" shot for the blog. Except it took me a good minute to find my camera, take off my gloves, and take the picture:
Can you guess what happened? Yep, I had this huge area that didn't get dyed. And I wasn't able to stir the pot either, so the entire scarf was just strangely streaked - and not in a good way.
And if you have such a little amount of dye in the pot, it takes very little time for the fiber to soak it up. It took maybe 4 minutes for the dye to disappear.
So I had to add about 3 times the amount of dye that I really wanted to add in order to get something that looked okay. And practically burned my hand off in the process.
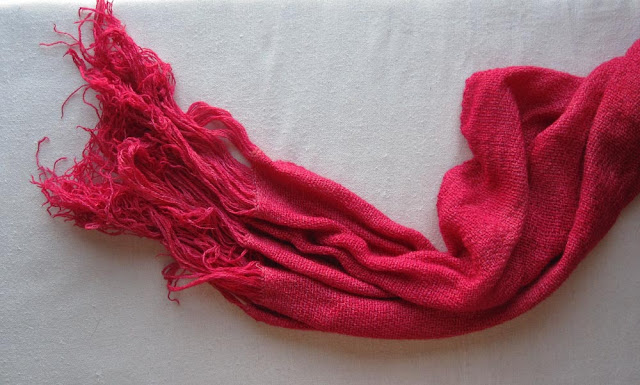
Either way, it still came out beautiful. Just not quite the colors I thought. Oh well. Next time!
What I learned and want to pass on to other newbie dyers:
1.) Always do a dye swatch test to see what will happen when you over dye. I was very unsure what the yellow would do when I added it to the fuchsia and brick red dye pots. After I did swatches, I knew!
2.) Have a large enough dye pot. There is something to be said to have the fiber "swimming" around freely. Do not skimp in this. Find old pots at Goodwill stores or if you have a friend who cans their own food you might be able to score an old large pot! The pots I currently have are not big enough for dyeing fabric. It's fine for my warps (think warp = 1/2 the amount of fiber than the fabric it makes). The last time I went to Reny's (best savings store ever - a Maine institution), I wanted to find a $20 lobster pot but since it was the end of summer, all the pots had already been snatched up for their intended use. Next time, Reny's!!!
3.) When dyeing any sort of protein fiber - that is an acid dye using heat - the minute it hits the dye bath is what the object will look like, so be especially careful with small amounts of dye. If you don't submerge evenly and start stirring right off the bat, you might get splotchy coverage.
4.) Even though rubber gloves feel like they are insulating you from a boiling pot of water - um, I don't need to finish that one, do I?
5.) Be prepared with the camera, if you're documenting. Or have someone else do it for you. Don't let your ego get in the way. The craft should come first!
Stupid Sale...
I went to IKEA in August, and they always put their fabric from the previous season on super sale. I'm pretty sure this was part of last year's winter fabric. Something attracted me to it.
Then I did something I "never" do, I bought 6 yards of it. Yeah. That's a lot. I don't normally do that since I need to have a project in mind, or else it will never get used. But it was cheap, and it's a heavy weight cotton. Don't worry, it's getting used.
I'm making pillows - more on that soon. And maybe a quilt? I'll certainly have enough fabric for that...
Those rags....
Remember the rags I posted about? The rug is finished!
But it sold. (Sorry, sort of.) But don't you worry - I'm making more! And you too can have a hip rag rug. Something you can bring safely into the 21st century. (No offense to grandma.)
Ombré Lesson
A lot of people have been asking me what ombré is, and I thought. What the hell? Might as well write a little ditty on it...
pronounced (OM-bray)
The French and their fancy terms.
Floss. Not the teeth kind...
Oh. Sigh. Most days are fleeting because I get to actually make something. And some days? They're spent organizing. That yarn book I made? I use it all the time. So I'm hoping that what I spent a solid amount of time doing today will pay off in the end.
I've been doing a bit of embroidering lately, something my mother taught me how to do when I was young - maybe 10-ish? I've been using this floss to do some basic embroidery for the notebook style holders, and pillows I've been making (more on those later), and sewing in my tags into scarves and what not.
Except this is how I've been storing my floss.
Yikes, right? It's been in that bag since I was 10 - double yikes. Today I wanted to start another pillow, but when I reached for my "bag o' fun", I couldn't figure out how to get a certain color thread out. [Explitve here.] It's essentially a big Rat King, as you can see above, and although I can untangle everything without cutting, I really needed to do something to reduce the amount of time that takes.
What's funny, is that I had two fixes that I implemented when I was 11 or so (it took me a year to realize that this rat king was going to happen with my new precious floss).
First was the tee solution. My dad is an avid golfer and I'm pretty sure I stole a bunch of his old tees:
Except that there was no where to attach the other end and they would ultimately unravel. The other solution was cardboard, except it was missing the crucial cut in the cardboard to hold the loose end. Yes, both are original solutions from 20 years ago. I was so close. Oy.
I was at Michael's today and found a handy little solution (I really didn't feel like making my own) for a couple of bucks. Winder + cards:
Don't you worry, I'll be making cardboard cards when I run out of those. It's a little ridiculous to be paying for some plastic thing that won't degrade, and cardboard is sturdy enough to reuse in the future. I was just in a rush to get things organized. (Boo, I know.)
Oh, just looking at that picture makes me feel so much better, no?
Open for business!
Hi all!
I just opened up shop... check it out!
Please forward to anyone who may be interested. And don't forget to like me on facebook!
And of course, thank you for being supportive and dealing with all my email blasts, requests for "likes" and of course for purchasing my wares. My friends, acquaintances and family members are awesome!!!! Without you, it could not be done.
xoxo
Tara
How do you get to Carnegie Hall?
I've been perusing the free knitting patterns on ravelry.com lately to find different and unique patterns mostly to use for practice, practice, practice. When I first started to knit cables, I stumbled upon the pattern for this lovely cowl. (I got the free pattern here.) It's simple enough, and a good way to practice larger cables which I don't have enough experience. With enough practice, I will surely get rid of those uneven gaping holes near the cable and loosen up my stitching. (Why does it get so tight on the cable row??)
And of course I had to ombré the crap out of it. It's ridiculous, I know, but I couldn't help it and it looks so good!!!


