Dye

Rusty nuts

While at home for Thanksgiving, I decided to raid my dad's workbench for some rusty fasteners. Needless to say there was no shortage of such things. He looked at me suspiciously, trying to figure out why I would want to take such things off his hand, although happy to unload these random objects he had kept.

The goal? To dye fiber with rust. I used felt as my first trial, because I had leftovers from the dye fest I had, and the next trial will definitely be cotton.

So I formed a solution of vinegar and water, doused the felt with it and placed it on a plastic tray.

Then added steel wool and some nuts and added more of the solution and covered it in plastic wrap to keep in the smell. Oxygen is very important for the reaction, so it should not be perfectly sealed.

The next day, I took off the plastic wrap and rinsed everything off in a bucket of water and salt to neutralize the solution.

The Over Dyeing Primer

Oh, I have learned so much the past couple months. This post is no exception. Remember the "easter egg scarf"? I know - you're tired of me talking about it. Well, I decided to over dye it.

(Warning: may be boring for those who do not want to learn about the fine points of protein fiber dyeing.)

Thankfully, I had some left over yarn that I had used to weave the scarf. 

I made little bundles of fiber out of the leftover bobbins to see what would happen to the already colored fiber.

So I mixed a few dye pots with different colors to test what would happen to each color. Always do test swatches so that you know what will happen to the scarf. No need to put the setting agent into dye pot since there's no need for it to set. Just a little dye and hot water to dissolve it will be enough to get a test dye pot to dip into.

 The goal was to get it to look like this (the third from the left, above).

Except I made one glaring mistake.

I really wanted to get a "cool" shot for the blog.  Except it took me a good minute to find my camera, take off my gloves, and take the picture:
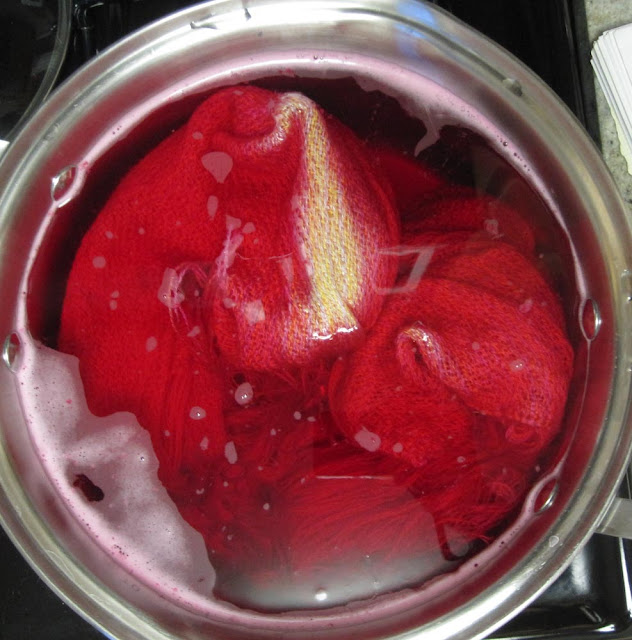
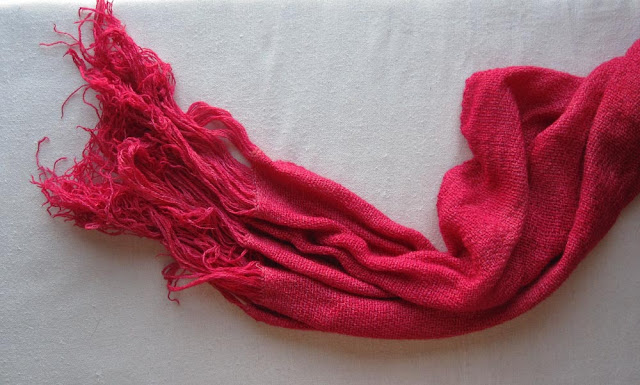
Can you guess what happened? Yep, I had this huge area that didn't get dyed. And I wasn't able to stir the pot either, so the entire scarf was just strangely streaked - and not in a good way.

And if you have such a little amount of dye in the pot, it takes very little time for the fiber to soak it up. It took maybe 4 minutes for the dye to disappear.
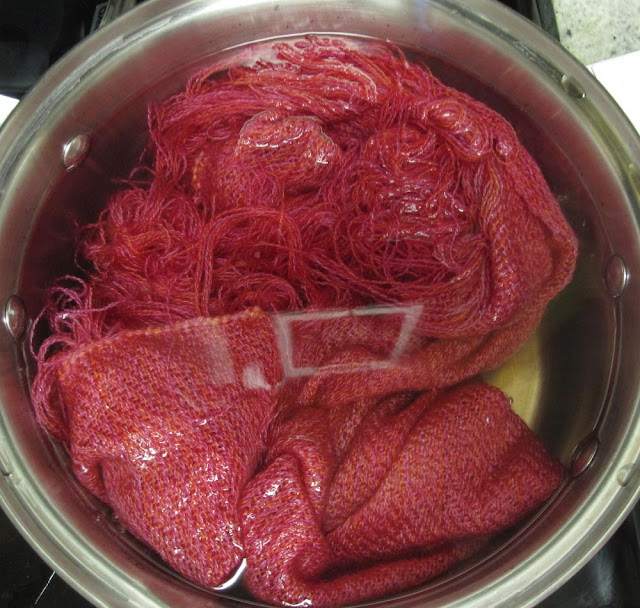
So I had to add about 3 times the amount of dye that I really wanted to add in order to get something that looked okay. And practically burned my hand off in the process.
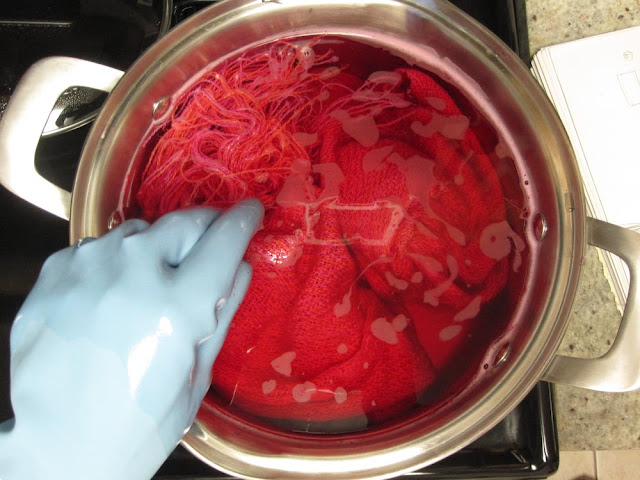
Either way, it still came out beautiful. Just not quite the colors I thought. Oh well. Next time!
What I learned and want to pass on to other newbie dyers:

1.) Always do a dye swatch test to see what will happen when you over dye. I was very unsure what the yellow would do when I added it to the fuchsia and brick red dye pots. After I did swatches, I knew!

2.) Have a large enough dye pot. There is something to be said to have the fiber "swimming" around freely. Do not skimp in this. Find old pots at Goodwill stores or if you have a friend who cans their own food you might be able to score an old large pot! The pots I currently have are not big enough for dyeing fabric. It's fine for my warps (think warp = 1/2 the amount of fiber than the fabric it makes). The last time I went to Reny's (best savings store ever - a Maine institution), I wanted to find a $20 lobster pot but since it was the end of summer, all the pots had already been snatched up for their intended use. Next time, Reny's!!!

3.) When dyeing any sort of protein fiber - that is an acid dye using heat - the minute it hits the dye bath is what the object will look like, so be especially careful with small amounts of dye. If you don't submerge evenly and start stirring right off the bat, you might get splotchy coverage.

4.) Even though rubber gloves feel like they are insulating you from a boiling pot of water - um, I don't need to finish that one, do I?

5.) Be prepared with the camera, if you're documenting. Or have someone else do it for you. Don't let your ego get in the way. The craft should come first!

Definitely a cook...

Every so often when I'm talking to my sister on the phone, she asks me, "When are we going to open that bakery together?" At one point, and I honestly don't know how this started, we discussed opening a bakery together; a place where people can indulge in their most favorite treats. And there will be cannoli, because damn it no one can make a good cannoli these days. (One day I will tell the story of the "Great Cannoli Hunt of 2004".) We both get a keen enjoyment out of it, not to mention the happiness that is brought to people who tastes our treats. Or rather, my sister's. She is an amazing baker - way better than I am and people look forward to each Christmas season to see what she'll stuff in the "tins o' fun" as I like to call them. But really 1800 miles separates us from opening such a bakery, although one day I know it'll happen.

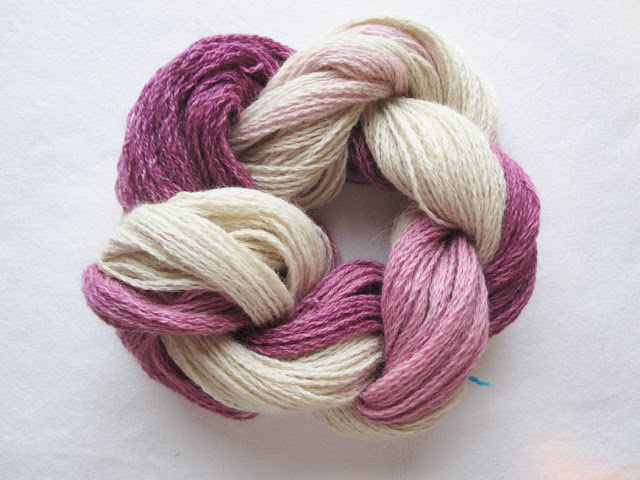
And now you're asking yourself, what does any of this have to do with the beautiful purple stringy stuff on this page?

Well friends, I enjoy cooking way more than I enjoy baking. I like not having to follow a recipe sometimes and winging it is far more exciting. This philosophy has apparently spilled over into my dyeing. Oh boy, has it ever. Would you believe that this warp was supposed to be a dark blue-grey? Yep, except I decided to add the tiniest smidgin of magenta and, well, either too much spilled out or I just need to start being more careful. (Oh yeah, and mixing the color and testing it before adding an entire project to a dye bath would probably help too, but I just get too excited.)


No skin off my back, though. Because that's the beauty of cooking: you don't need to throw it out, just add a little here and there and you're good to go! So this may not have been the warp that I wanted, but it'll turn into something just as sweet....

The Ombré Addiction

I have a not so terrible addiction folks. It's an uncontrollable urge to ombré the crap out of every piece of yarn or spare fabric I have. I should probably move on before I end up in a terrible ombré rut.
But for the time being, check out a couple of warps I dyed recently! 
This is hopefully for a scarf. Made of 100% alpaca.

And this one is 100% wool for some pillow fabric I'm making.

Ombré on, hombre....

Lately, I've been spending a lot of time in the kitchen. Yes, I love to cook. Creating elaborate meals for my loved ones is one of my favorite past times. But my first passion is dyeing. Oh, goodness how much I love it! It can be a bit of a pain with getting out all the special pots and pans and laying down pieces of plastic tarp all over the countertops and floors (not sure our landlords would appreciate random splotches of red, yellow and blue all over the place.) But when I do it, I am in my element even when it might not turn out right.

Recently, I decided to fix some of my blah looking knits. I've been on this crazy knitting streak with some less than fancy yarn. So I've decided to ombré up a storm, hombre.

I love the irregular gradations - not a huge fan of the perfect ombré. Isn't it great? I'll have more pictures up soon...

Adventures in Dyeing...

Before I took my refresher dye course at the Textile Arts Center this summer, I decided to attempt an ombré effect with some rags for what would eventually be woven into a rag rug. Our duvet cover had seem better days due to our little muffin kneading fur-balls; it was worst for the wear. I tore it up into 1" strips (they really should be smaller, but the fabric is rather worn and thin). Then, I tied bunches of them together to get ready for the dye pot.


Now, this was the first time I tried to dye something a) old and b) a cotton blend. Yes, that's right. I've only had acid dyeing experience, which involves protein based fibers: wool, alpaca, mohair, silk, etc. Now don't get me wrong, it was a blast to do, but holy crap the results were less than wonderful. But at least the process shots were pretty cool:

See how the color is variegated? Different dye colors take depending on time exposed in the dye pot. In this case the first to get absorbed by the fiber was the red based hue, and lastly was the yellow-based ones. 

So what did I learn here that I would like to pass onto you? Dyeing old stuff is difficult to do - if it's been through the wash a million times or if it's just pilled all to heck it's not going to take dye well. The reason is that washing, especially with the alkaline soaps we use, will break down the fiber. In turn, it's less likely to take on any sort of dye. Also, procion dyes* tend to be less vibrate in general. That is, I have difficulty getting even virgin fiber to take on vibrant color.


Also, I did something I haven't done in a while - I didn't follow the directions to a T. I'm much more of a cook than baker, and this has even gotten me into trouble when following food recipes. I skimmed the directions thinking I knew what was going on since I've done so much acid dyeing, but low and behold it is a bit different to use procion dyes. I didn't use the wrong ingredients - I wasn't being reckless - I just didn't soak things properly and added the color kicker at the wrong time. Oops.

Anyway, after I set the color in the rags, I washed and dried them and the color faded even more. Next time I'll follow the directions. 


Even so, I wove them into a rag rug. All in all, it looks alright!

*Procion dyes are dyes used to create color for cellulose fiber. Cellulose fibers are plant based fibers: cotton, bamboo, rayon, etc.